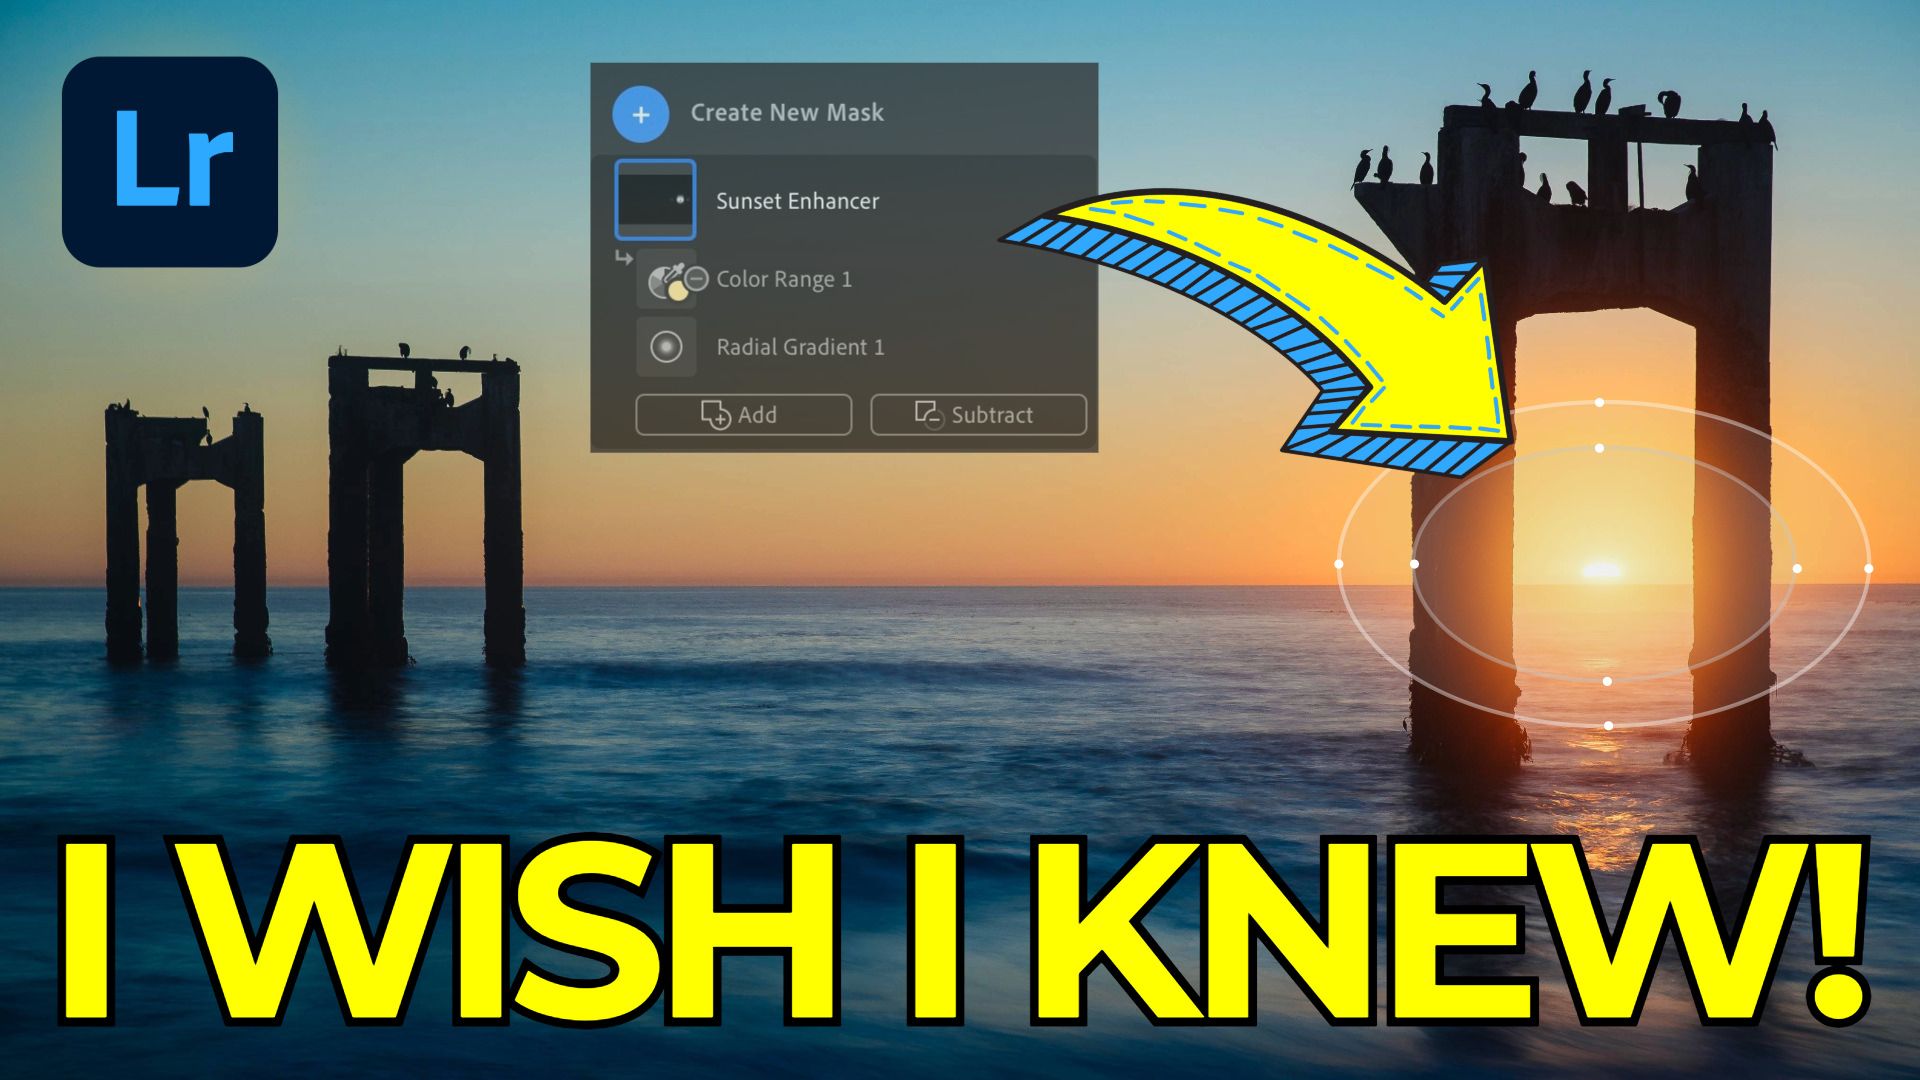
4 Hidden Lightroom Masking Tricks You Need To Know About

Lightroom’s masking tools are some of the most powerful features for fine-tuning your images, allowing for precise control over specific areas of a photo. Whether you're enhancing the glow of a streetlight or making subtle adjustments to a landscape, these tips will help you use the masking panel more efficiently. Here’s a breakdown of four key techniques that will elevate your editing skills.
1. Radial Gradient Precision
The Radial Gradient is one of the most versatile masks in Lightroom. It's perfect for drawing attention to specific areas, like a streetlight or any other point of interest in your image. Here's how to use it more effectively:
- Quick Access: With Lightroom Desktop (not Classic), press the keyboard shortcut
Rto open the Radial Gradient tool instantly. - Perfect Circle: When creating a circular mask, place your cursor in the center of the area you want to highlight. Hold down the
Shiftkey, then click and drag outwards. This ensures your gradient is a perfect circle.

- Individual Adjustments: For more refined control, hold down the
Optionkey (on Mac) or theAltkey (on Windows) and drag one of the control handles. This will allow you to adjust only one side of the gradient, creating an elliptical or oblong shape that suits your needs.

- Symmetrical Adjustments: To stretch the gradient evenly on the left and right (or top and bottom), hold the
Commandkey (on Mac) or theControlkey (on Windows) while dragging. This action allows you to adjust the gradient proportionally, both horizontally and vertically.

2. Straight Linear Gradients
Linear gradients are excellent for adding gradual adjustments, like enhancing a sky or adding depth to a landscape. However, achieving a perfectly straight gradient can be tricky:
- Lock It In: After selecting the Linear Gradient tool, hold down the
Shiftkey as you drag. This locks the gradient to a perfectly straight line, which is especially useful when working with horizons or other straight elements in your photo.
3. Streamlined Sky Selection
Using Lightroom's adaptive sky mask to select the sky in your photos is a common task, especially in landscape photography. Lightroom’s masking tools make this easier, and here’s how to do it even more efficiently:
- Quick Intersect: Normally, to refine a sky selection using my Intersect masking trick, you'd have to click through a few menus. Instead, after selecting the sky, hold down the
Optionkey (on Mac) or theAltkey (on Windows). This action changes the usual add/subtract buttons to an Intersect button, allowing you to intersect with another mask, like the sky, with a single click. It’s a small tweak, but it saves time and effort.
4. Foreground Selection Made Easy
Lightroom doesn’t offer a direct option to select the foreground, but there’s a clever workaround using the sky selection:
- Invert the Sky Mask: Start by creating a sky mask and then invert it to select everything but the sky—essentially your foreground.
- Create a Preset: To avoid repeating this process, save the inverted mask as a preset. Rename the mask as "Foreground Mask," then save it as a new preset. When you apply this preset to any image, Lightroom automatically adapts the mask to your specific photo, identifying the foreground based on the sky.
Wrapping it up
By integrating these tips into your workflow, you’ll find that your editing process becomes faster and more precise. Lightroom’s masking tools offer endless possibilities for creative control, and mastering them is a game-changer for any photography enthusiast.
If you're eager to dive deeper into Lightroom's masking capabilities, definitely check out my Lightroom Masking Essentials course. It covers everything from the basics to advanced techniques, helping you fully unlock the potential of these powerful editing tools.


