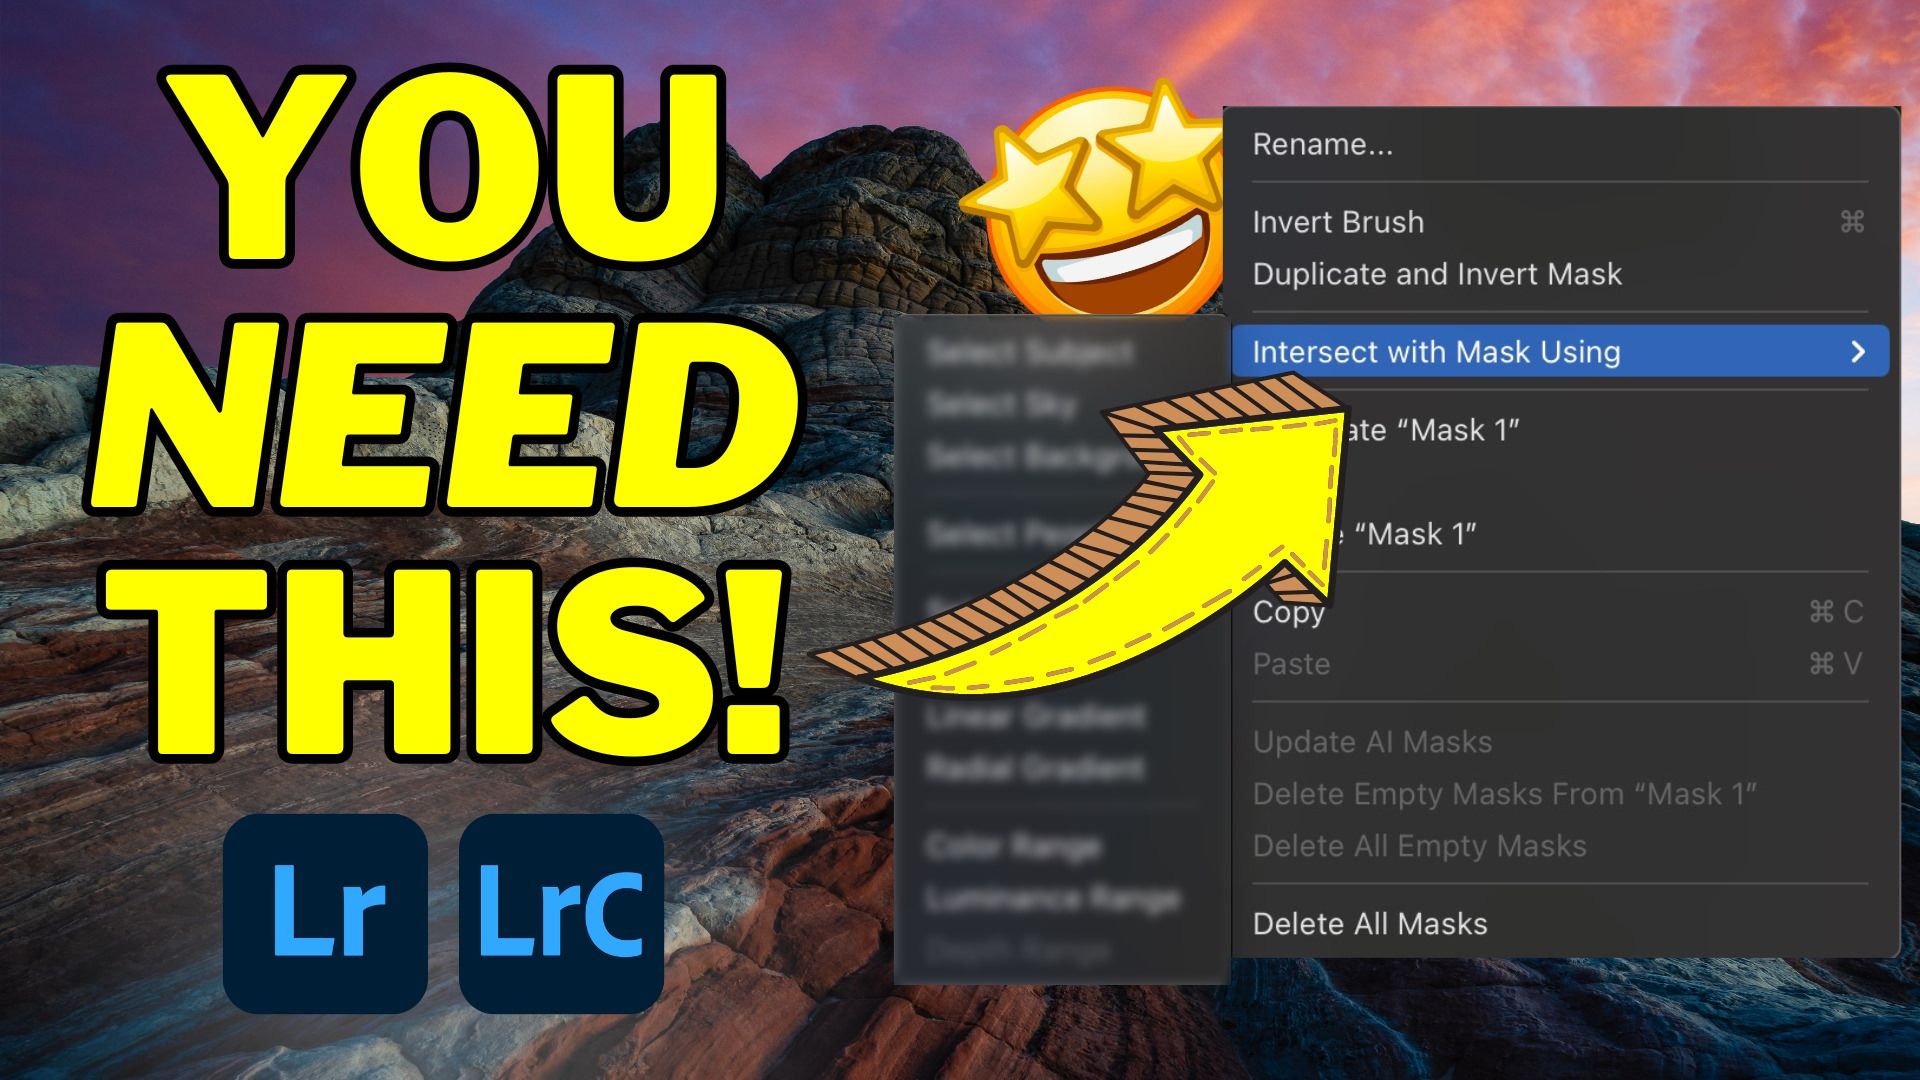
This Could Be Lightroom's Most Powerful Tool

Have you ever considered the terminology we use as photographers? We regularly use so many fun and interesting terms to convey what we're doing. Whether dodging or burning, healing, or color grading, we have a world of techniques at our disposal. Also, several tools share the same name between apps like Lightroom and Photoshop, but the functionality is inherently different.
One such tool is masking. According to Adobe, as it relates to Photoshop, "Layer masking is a nondestructive way to hide parts of an image or layer without erasing them." Masking is arguably one of the most fundamentally important tools in Photoshop because it opens up an entire world of compositing or overlaying one image, adjustment layer, or adjustment preset atop another.
But what about Lightroom? There is a mode called Masking, but last I checked, Lightroom can't layer images or composite them together. So, if you can't "hide parts of an image or layer," what can you do? By understanding that answer, you can take full advantage of Lightroom's Masking panel.
Masking or Selecting?
I always thought a better label for the Masking panel would be "Selections," because that's exactly what each tool does. When you "mask" in Lightroom, you use one or several tools to select an area of your photo.

Once the selection is made, you can use the editing panel to change everything in it. Of course, you can remove parts of your selection at any time using the Subtract function, but it's not like you're removing any part of your photo.
Still, please don't take that as me minimizing or downplaying the power of Lightroom's masking tools. They're especially powerful, and I cover just how much creative potential they offer in my Lightroom Landscapes course. It's just that I have always been curious about why it's called masking.
What about Intersect?
As if Lightroom's masking tools weren't as powerful as it is, you also have the option to "intersect" one mask (or selection) with another. Essentially, intersecting one mask with another allows you to make a selection within a selection, and I cannot stress just how powerful that it.
Think of it this way. Your initial mask, or selection, determines WHERE within your image you will make a localized edit. The subsequent Intersect mask determines specifically WHAT you will edit WITHIN that initial mask.
In practical terms, let's say you want to edit the sky in your landscape photo. You'd probably start by going to the Masking panel and selecting the adaptive Sky mask. Lightroom will then use AI to identify the sky in the photo and make a clean selection of it.
But let's say that you only want to edit the darkest parts of the sky. As it stands, you can't do that because all edits made to the sky selection will be applied evenly... unless you intersect it with another selection. In this case, you could intersect your initial sky selection with a Color or Luminance Range mask and refine the selection to the darkest values of blue. In other words, you've made a selection (Color or Luminance Range) within a selection (Adaptive Sky).
If this still doesn't make any sense, then check out this tutorial that showcases three creative ways to use the Intersect tool to make extremely refined localized edits.
What about Lightroom Mobile?
You might notice that Lightroom Mobile doesn't have Intersect as an option within the Masking panel (at least, it wasn't there when I drafted this article). Fortunately, you can still benefit from Intersect even if the menu item is there. That's because Intersect is essentially "Subtract + Invert."
To Intersect using Lightroom Mobile, do the following:
- Make your initial selection using any of the selection tools available.
- Click on “Subtract” and choose the selection method that works best for your needs. Then, make your subtract selection.
- Click on “Invert” to replicate Intersect.
I also have a tutorial walking you through that process, so be sure to check it out, too!


