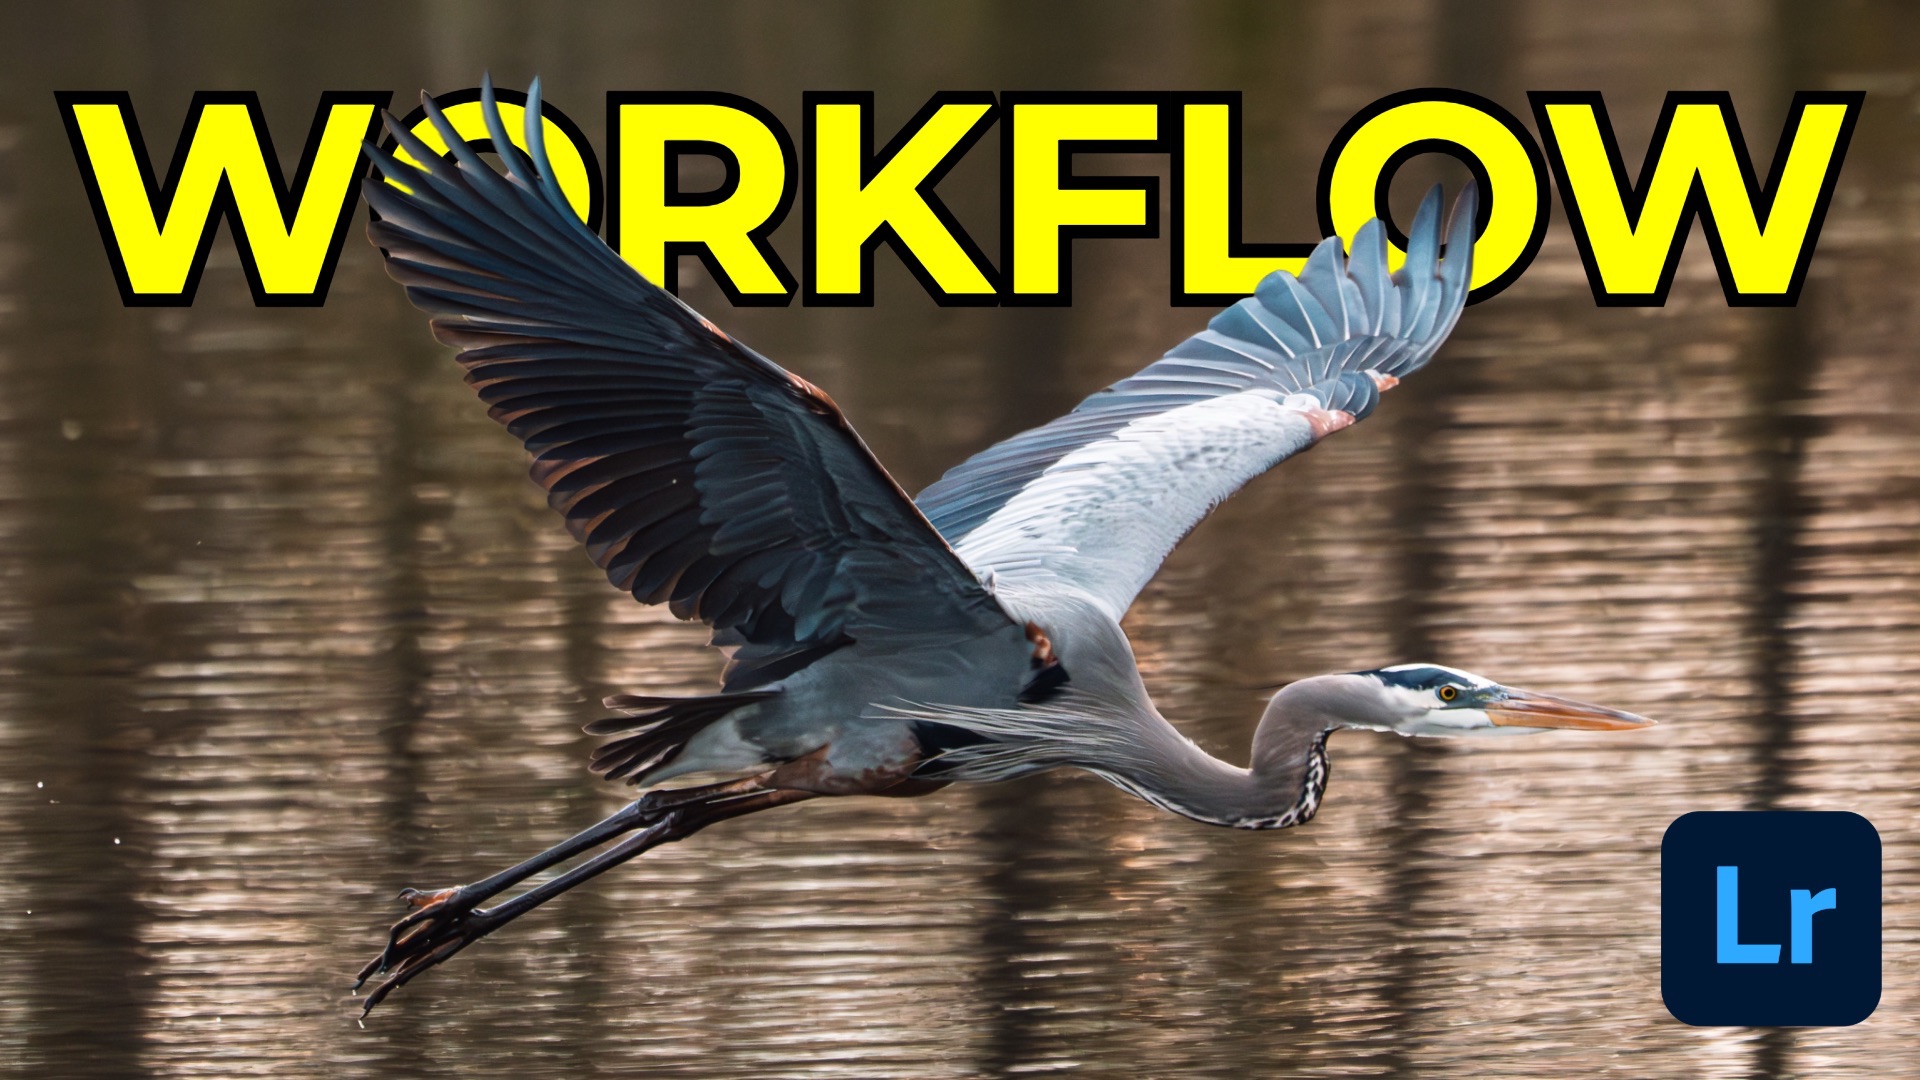
My Must Know Lightroom Edits For Bird Photography
Since moving to Florida a few years ago, my photography has taken a new turn—literally. Gone are the mountain and waterfall scenes I used to chase, replaced by an abundance of birds. At first, I resisted the idea of photographing them, but curiosity got the better of me. And I’m glad it did. Bird photography has introduced me to a whole new set of creative challenges and opportunities.
In this post, I’ll walk you through my editing workflow for a photo of a great blue heron using Lightroom Desktop. Everything I cover here can be adapted to Lightroom Classic as well.
The Photo and Camera Settings
The photo was taken using a Sony A1 II paired with a 100–400mm lens and 1.4x teleconverter. This gave me a 50MP RAW file—plenty of resolution for cropping without sacrificing detail. Because I needed a fast shutter speed, I bumped the ISO to 5000, which introduced noticeable noise. Let’s fix that first.
Step 1: Reduce Noise with AI Denoise
Lightroom’s AI Denoise tool is excellent for high-ISO images like this one. I zoomed out and clicked on a key area (in this case, the bird's wings), adjusted the noise reduction amount to balance noise removal with detail retention, and clicked Enhance. This generated a new DNG file, which we’ll use for the rest of the edit.
✦ Tip: Don’t aim to remove all noise—it’s okay for a photo to retain some texture. Over-processing can reduce natural detail.
Step 2: Apply the Adaptive Color Profile
With the new DNG selected, I switched the profile to Adaptive: Color. This profile does a great job balancing tone and color right out of the gate. It gave me a strong starting point with more vibrant colors and improved dynamic range. I left HDR off for this edit since my screen recording doesn’t support HDR output, but normally I’d enable it.
Step 3: White Balance and Cropping
I used the White Balance Dropper on a neutral gray area of the bird. In this case, there wasn’t much adjustment needed.
Then I rotated and cropped the image. Initially, the bird was flying from right to left, but I decided to flip the image horizontally so the bird flew left to right. This aligns better with how we naturally read images in Western cultures—left to right.
Step 4: Tone and Contrast Adjustments
Rather than using Auto Tone (which is discouraged with Adaptive profiles), I manually adjusted:
-
Exposure slightly upward
-
Highlights slightly downward
Then I applied a custom S-curve using the point curve:
-
Pulled up the highlights
-
Dropped the shadows
-
Raised the black point to add a slight gray tone (for soft contrast)
-
Adjusted the Refined Saturation slider to about 50% to balance out color changes introduced by the tone curve
Step 5: Masking for Targeted Edits
Subject Mask (The Bird)
I used Select Subject to isolate the heron and increased Texture to bring out feather detail. I also lifted the Shadows a bit to bring out more midtone detail without overdoing it.
✦ Tip: When adjusting sliders like Texture or Shadows, don’t focus on the numbers—watch the image and let it guide your adjustments.
Background Mask
To help the bird stand out more, I created a Background Mask (the inverse of the subject). I:
-
Lowered Exposure slightly
-
Warmed up the Temperature
-
Reduced Saturation a bit
This subtly pushed the background into the distance and brought more attention to the heron.
Step 6: Color Calibration and Finishing Touches
In the Color Calibration panel:
-
Increased Blue Primary Saturation for more richness in the sky and shadows
-
Boosted Green Primary Saturation to add more depth to subtle tones
Then I added a bit of Dehaze to cut through atmospheric softness.
I skipped vignetting on this image, as I wanted to keep the entire frame evenly lit. Instead of darkening the edges, I could’ve used a Radial Gradient to emphasize the bird’s head, but in this case, the image already had good balance.
Step 7: Sharpening
Finally, I zoomed in to 100% and adjusted Sharpening:
-
Held Option (Mac) or Alt (Windows) while adjusting the Amount slider to fine-tune edge sharpness
-
Used the Masking slider (again with Option/Alt) to restrict sharpening to high-contrast edges
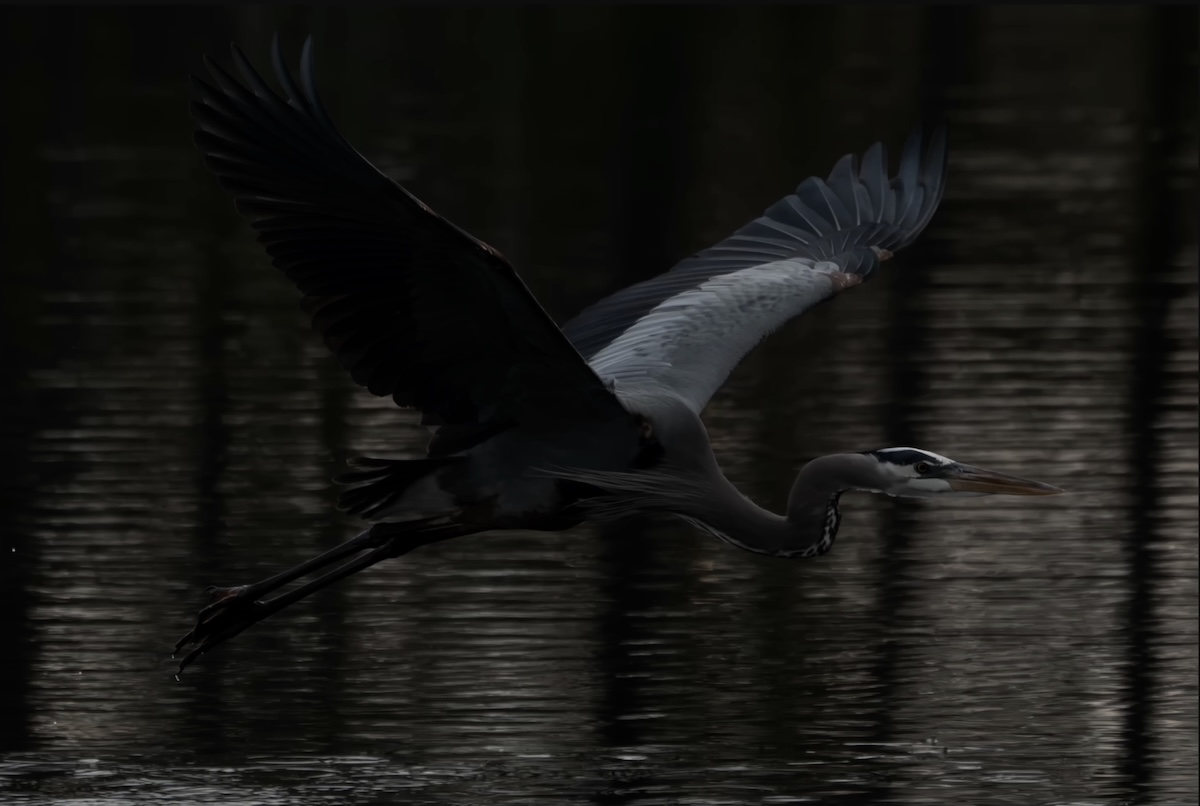
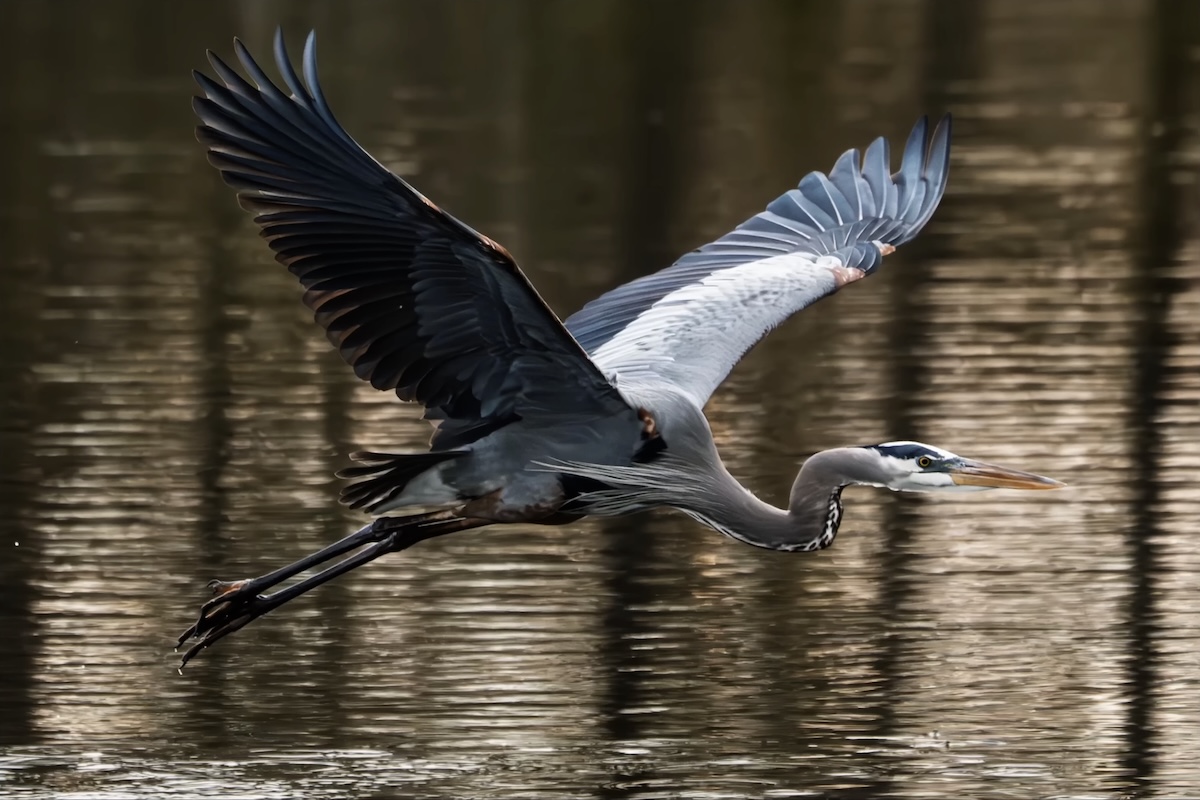
Before and After
Here’s a look at the before and after of the image. While Lightroom doesn’t show the uncropped version, the improvement in tone, detail, and clarity is clear.
The Only Course Designed to Help You Use Lightroom Everywhere!


