Not Using This One Lightroom Feature May Be Holding You Back
If you use Adobe Lightroom across multiple devices, chances are you're already familiar with the convenience of having your full photo library synced to the cloud. You can access and edit your images from just about anywhere, whether you’re on a desktop, a tablet, or your phone. But beyond syncing your photos and edits, there’s a lesser-known feature that deserves a closer look: Versions.
Versions let you save different editing states of the same photo—kind of like a mix between virtual copies and snapshots. The difference is that they sync across Lightroom Desktop, Mobile, and Web, making them accessible wherever you're editing.
Let’s walk through what Versions are, how to use them, and four practical ways you can integrate them into your editing workflow.
What Are Lightroom Versions?
Think of Versions as saved states of an image’s edit. You can create a named version at any time, and Lightroom will remember exactly what the image looked like at that point—including your crops, masks, presets, and more. These saved versions don’t duplicate the file or take up additional storage like exporting multiple JPEGs might. And because they sync across platforms, you can save a version on your desktop and access it instantly on your phone.
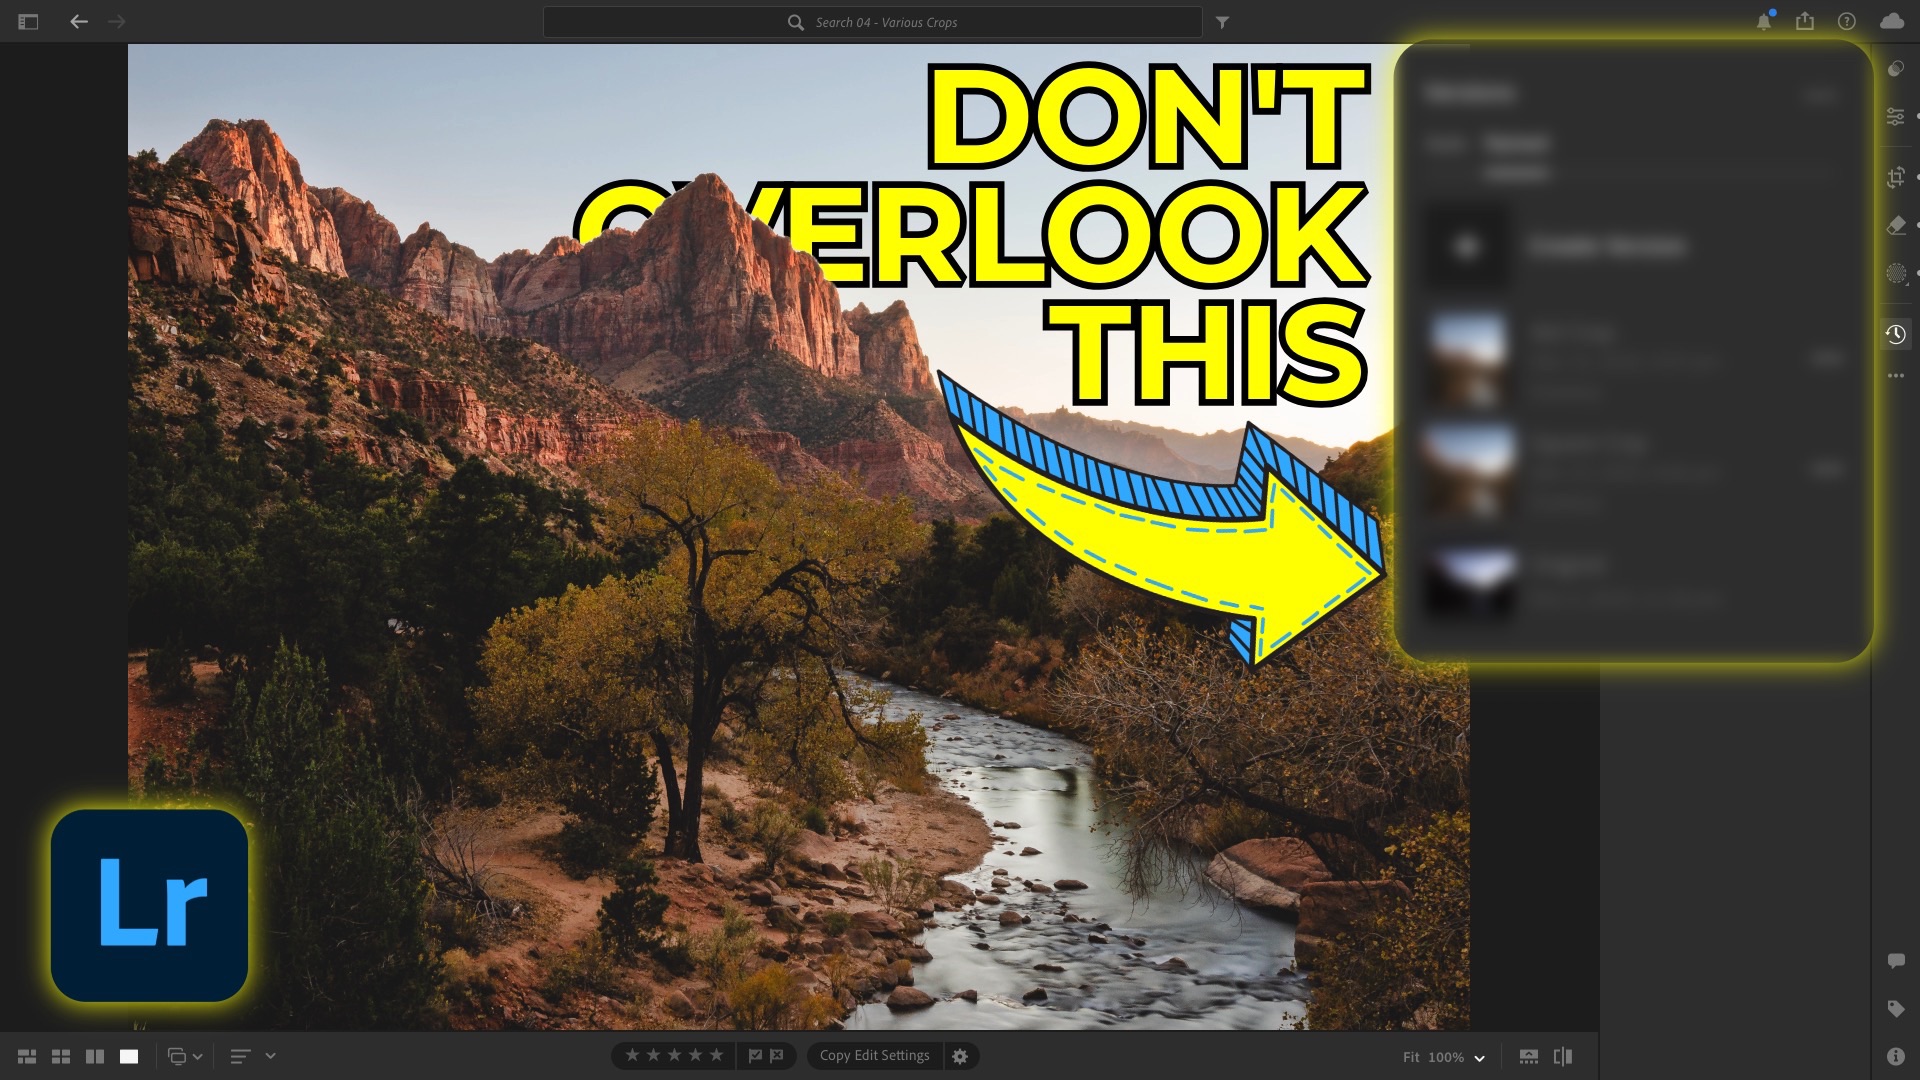
You’ll find the Versions icon in the right toolbar of all Lightroom apps. It looks like a little clock with an arrow. From there, you’ll see two tabs:
-
Auto: Lightroom occasionally saves automatic versions as you work.
-
Named: These are versions you create manually.
Use Case #1: Re-editing Old Photos Without Losing the Original Look
Over time, your editing style will evolve. But that doesn’t mean you need to erase your old edits. With Versions, you can preserve your original look and explore a new one without any risk.
For example, let’s say you edited a landscape photo in 2011. Now, in 2025, you want to re-edit that same image using new tools and your current taste. Instead of wiping out the original edit, you can create a named version called "2011 Original Edit" and then reset the image or apply a new treatment. After making your new adjustments, save a second version—like “2025 Edit”—so you can flip between the two anytime.
This approach is also helpful if new features like adaptive profiles, generative remove, or HDR editing weren’t available back then. You can now re-process older photos using the latest tools without losing your past work.
Use Case #2: Comparing Different Presets or Styles
Sometimes, choosing between a few creative directions is tricky. Maybe you want to try out a few presets—color, black and white, cinematic—but don’t want to constantly reset your work.
Here’s a better way:
-
Apply your first preset.
-
Save it as a version (e.g., “Warm Preset”).
-
Reset or undo, then try a second one.
-
Save that too (e.g., “B&W Preset”).
Now you can toggle between the versions to compare them directly. No need to guess or dig through history panels. This is especially useful when using Lightroom’s Recommended Presets section, which often suggests styles you wouldn’t normally try.
Use Case #3: Saving SDR and HDR Edits
If you’ve dipped your toes into 32-bit HDR editing in Lightroom, you’ve probably noticed that not every platform or display can show HDR correctly. So, how do you prepare both HDR and standard versions of an image for sharing?
Easy: Use Versions.
-
Start with your standard dynamic range (SDR) edit.
-
Save it as a version—maybe “2025 SDR Edit.”
-
Enable HDR and tweak your settings.
-
Save again as “2025 HDR Edit.”
Now you’ve got both formats saved in one spot. Whether you're exporting for Instagram or showing your work on an HDR monitor, both versions are ready when you need them.
Use Case #4: Creating Multiple Crops for Social Media
Instagram uses multiple aspect ratios: square (1:1), vertical (4:5), and landscape. If you want to experiment with different crops but don't want to lose your original framing, Versions are perfect for this too.
Let’s say you have a finished photo. You can:
-
Crop to a square and save a version called “Square Crop.”
-
Undo, then crop to a 4:5 vertical and save that as “4x5 Crop.”
Once you’ve saved these versions, you can even export all named versions at once as JPEGs—perfect for preparing multiple uploads from one file without repeating the editing steps.
Bonus Tip: Syncing and Exporting
Every version you save syncs automatically to Lightroom Mobile and Web. And if you ever need to export all your named versions in one go, Lightroom Desktop gives you that option too. Just click the ellipsis (three dots) in the Versions panel and choose to export all as JPEGs.
Final Thoughts
Versions may not be the flashiest feature in Lightroom, but its quietly one of the most powerful—especially if you work across devices or like to iterate on your edits. Whether you’re preserving old work, comparing creative directions, editing for both SDR and HDR, or prepping for social media, Versions can save time and keep your workflow clean.
So next time you're editing in Lightroom, take a moment to hit that “Create Version” button. Your future self might thank you.
It's Time to Learn How To Use Lightroom Everywhere!

If you enjoyed this topic and want to learn how to get the most out of Lightroom's cloud-based ecosystem on the desktop, smartphone, and tablet, then you should check out my Lightroom Everywhere course! It has over nine hours of easy-paced lessons that'll teach you how to make the most out of Lightroom Desktop, Mobile, and Web.
The Only Course Designed to Help You Use Lightroom Everywhere!


