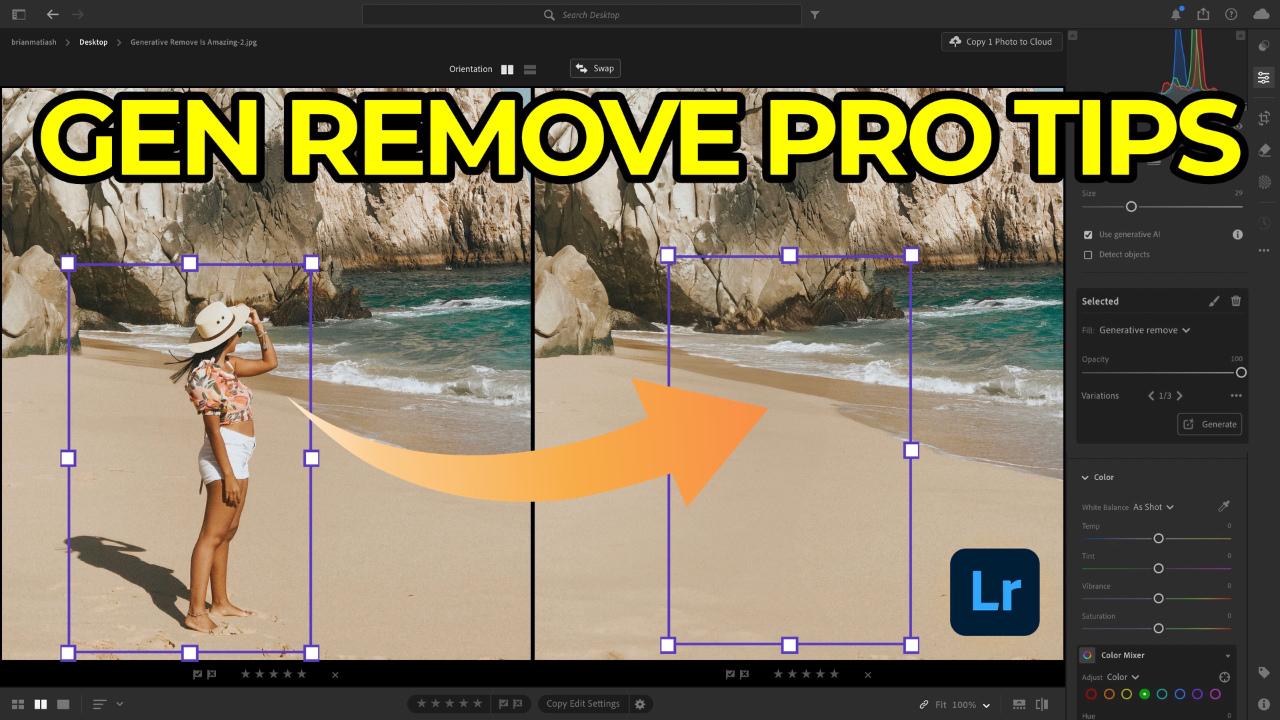
5 Must-Know Tips For Instant Improvements With Lightroom Generative Remove

The Generative Remove tool in Lightroom, introduced just a few months ago, has quickly become one of its most impactful features. This tool enables photographers to effortlessly remove distractions and unwanted elements from images, making it easier than ever to clean up photos without extensive manual editing. However, as with any powerful tool, knowing how to use it effectively can make a big difference in the results you get. Here’s a breakdown of five essential tips to help you maximize Generative Remove’s potential and get cleaner, more seamless edits every time.
1. Start with Generative Remove Before Any Other Edits, Especially Cropping
When you open an image in Lightroom, begin your editing session with Generative Remove—particularly before cropping or enabling Lens Correction. Lightroom’s non-destructive workflow retains every pixel in the original photo, even if it’s cropped out, so Generative Remove will still consider all areas outside your crop.
By using Generative Remove first, you avoid potential issues where Lightroom may try to fill in only part of the unwanted object, which can result in partial or unsatisfactory removals. For instance, if you have a sign at the edge of the frame, it’s better to remove it in the uncropped version of the photo so Lightroom’s AI doesn’t struggle with residual fragments.
2. Include Shadows When Removing Subjects
If the subject you want to remove casts a visible shadow, be sure to include it in your selection. When only part of the shadow is removed, Generative Remove may try to fill the space with something else, sometimes resulting in random objects or hallucinations. By selecting both the subject and its shadow, you’re more likely to get a natural, seamless fill that doesn’t draw attention to the edit. Adobe Firefly, the AI model that powers Generative Remove, works more effectively when given complete information, so always consider shadows as part of the object when making your removal selection.
3. Consider Reflections as Part of the Subject
Similar to shadows, reflections are another essential element to include if they’re connected to the object you’re removing. Whether on a lake, wet pavement, or glass, reflections can give away an edit if left behind. Just as with shadows, Generative Remove may replace a missing reflection with something unexpected, assuming it’s part of the intended fill. Including reflections in your Generative Remove selection will help create a more cohesive, balanced look, maintaining the integrity of the scene.
4. Use Multiple Strokes in a Single Session
With this recent update, Lightroom now allows multiple selections in a single removal session. This is particularly helpful if you need to remove several distractions from a scene at once. Instead of working on each item individually, you can select all the elements you want removed, and Lightroom will handle them in one go. And the best part is that each of the strokes in the Generative Remove session can be independently controlled in terms of which Variation you prefer to keep.
5. Switch Off Generative Remove for Minor Touch-Ups
Generative Remove isn’t always necessary, especially for small, straightforward fixes like dust spots or tiny distractions. Lightroom’s Content-Aware Remove brush, which is still available, is often faster and works locally without needing AI processing. Turning off Generative Remove for smaller edits can streamline your workflow and yield quicker, high-quality results, particularly when removing minute imperfections that don’t require complex fills.
Learn How To Use Lightroom Everywhere!
For a comprehensive guide on managing and editing your photos across all Lightroom platforms, check out my course, Lightroom Everywhere. This course has been updated with these new features and will help you get the most out of Lightroom.


